1. Video
You can check the video for a walkthrough of how to Bulk Import Projects to FOCUS™.
2. Bulk Import Projects
FOCUS™ provides the Import functionality that enables users to bulk create projects in 'Opportunity' (Stage 1), 'Approved Opportunity' (Stage 2), and 'Kick-Off (Full Kitting)' (Stage 3), and update projects in Opportunity and Approved Opportunity, including data changes and progression through stage gates.
Note: This is only available for users with Admin access.
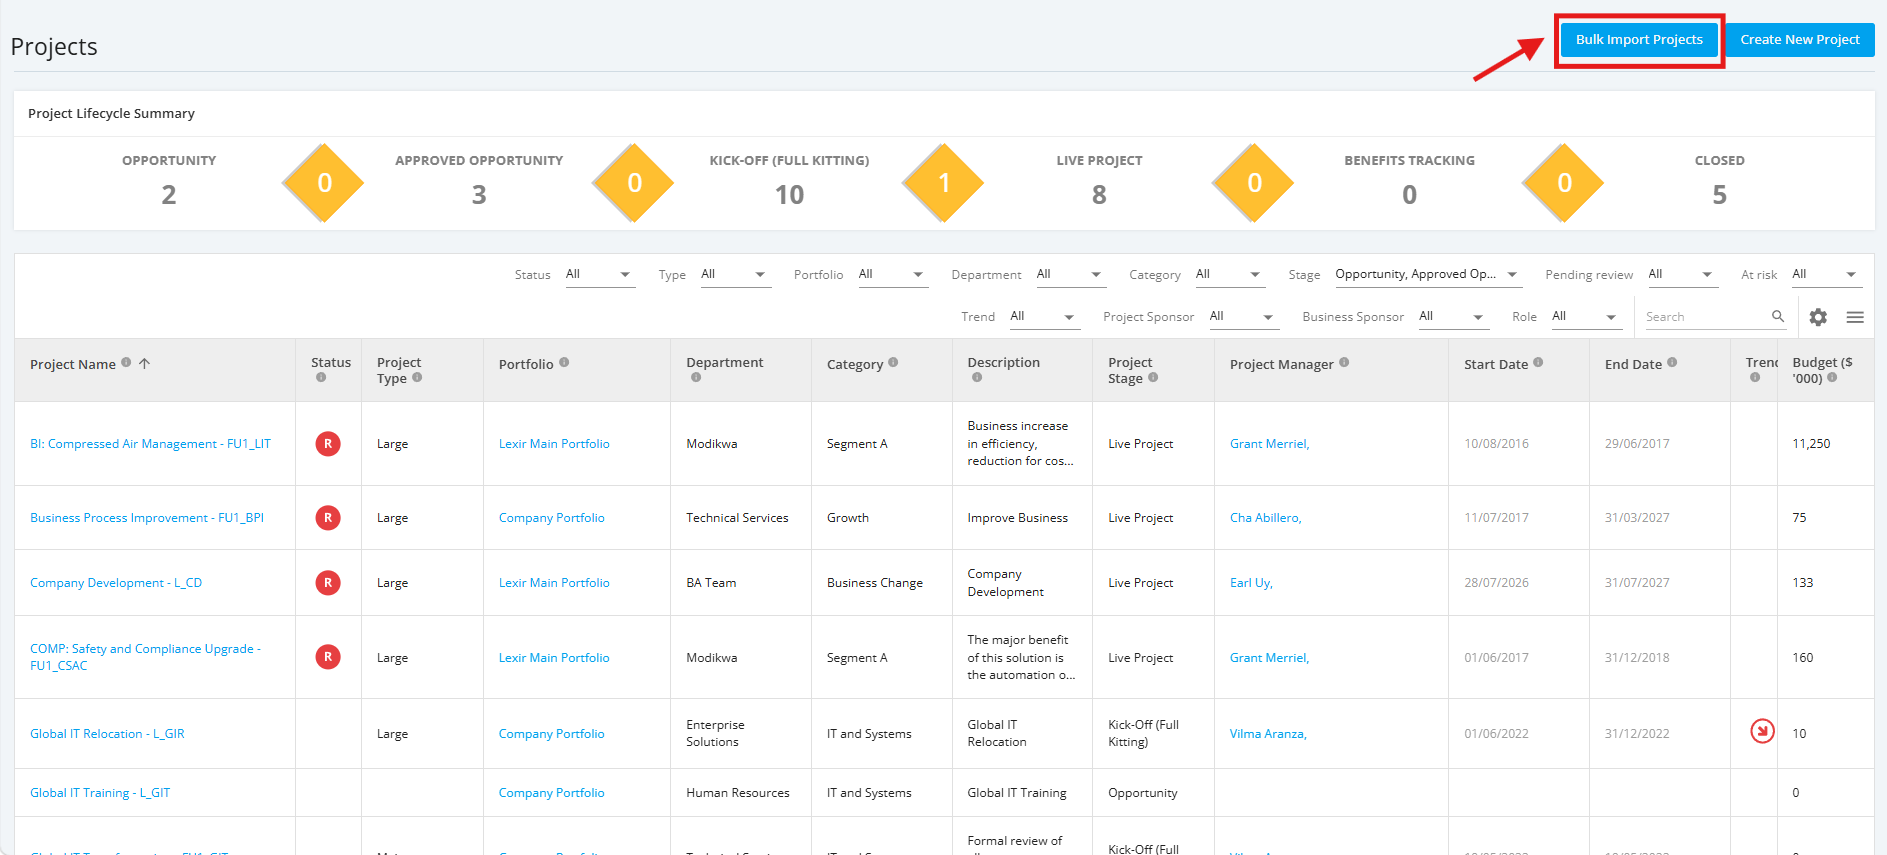
1. To import Projects from CSV, navigate to the ‘All Projects Dashboard’ page, and click the ‘Bulk Import Projects’ button.
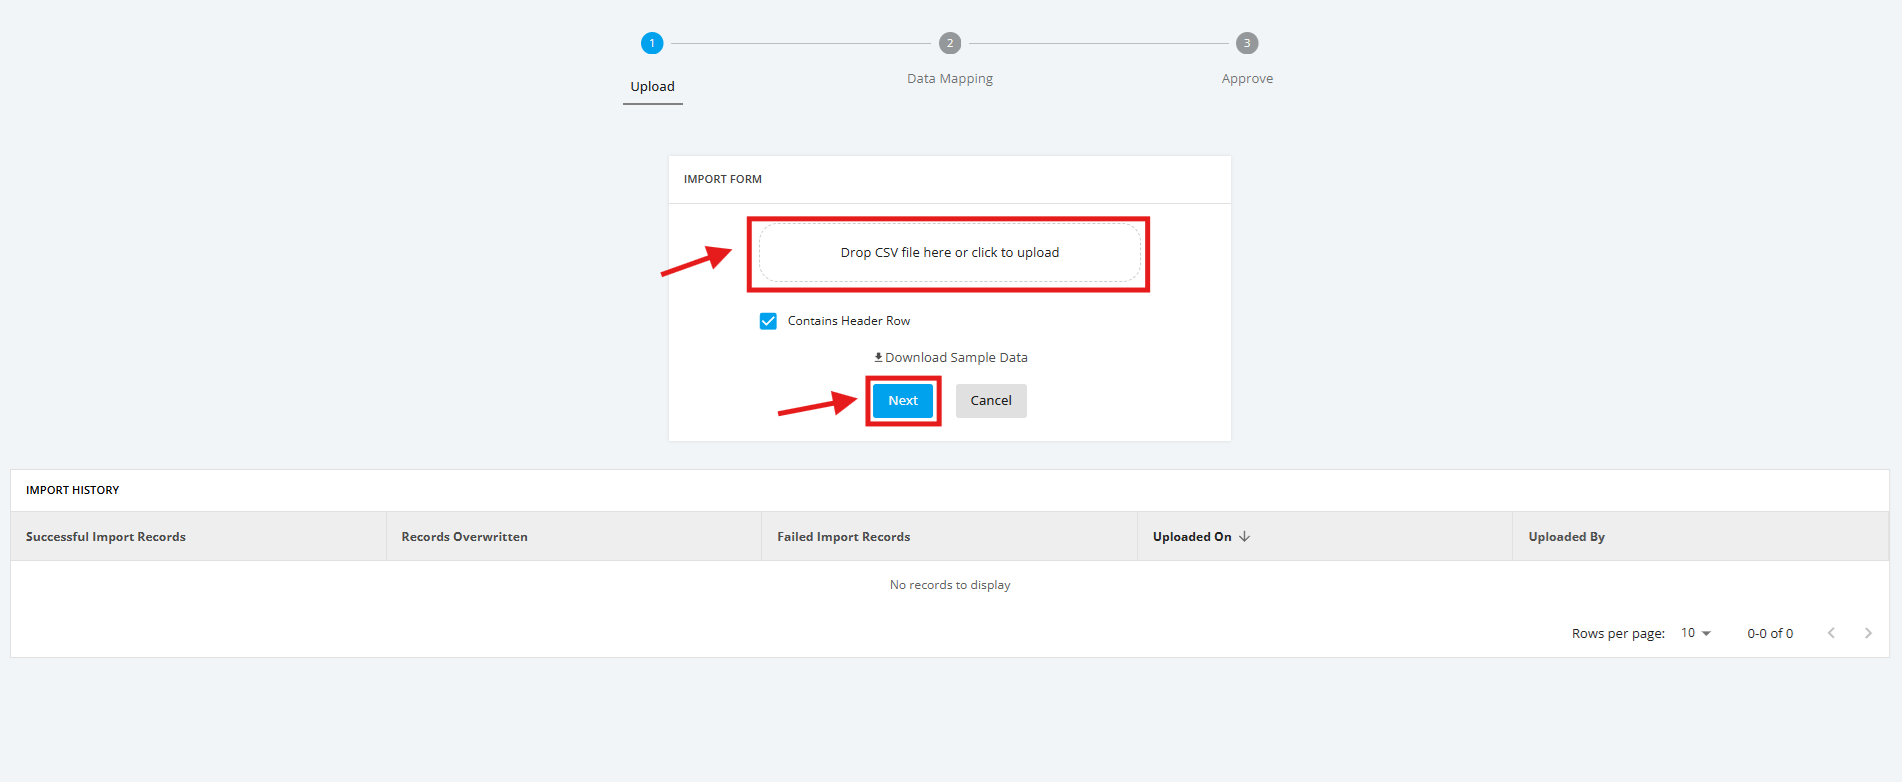
2. Upload the CSV file containing the projects.
The CSV Project Import File columns need to be populated with the below information:
- Code - Project ID
- Stage - Stages should be based on the Company Profile Settings
- Name - Project Name
- Description - Project Description
- Department - Department should be based on the Company Profile Settings
- Category - Category should be based on the Company Profile Settings
- Priority - Project Priority
- Project Sponsor
- Business Sponsor
- Cost From
- Cost To
- Business Benefit
- Project Type - Project Type should be based on the Company Profile Settings
- Estimated Business Case
- Ideation End
- Feasibility Start
- Feasibility End
- Planning Start
- Planning End
- Execution Start
- Execution End
- Key Milestone 1- You can just populate this one column
- Key Milestone 2
- Key Milestone 3
- Key Milestone 4
- Key Milestone 5
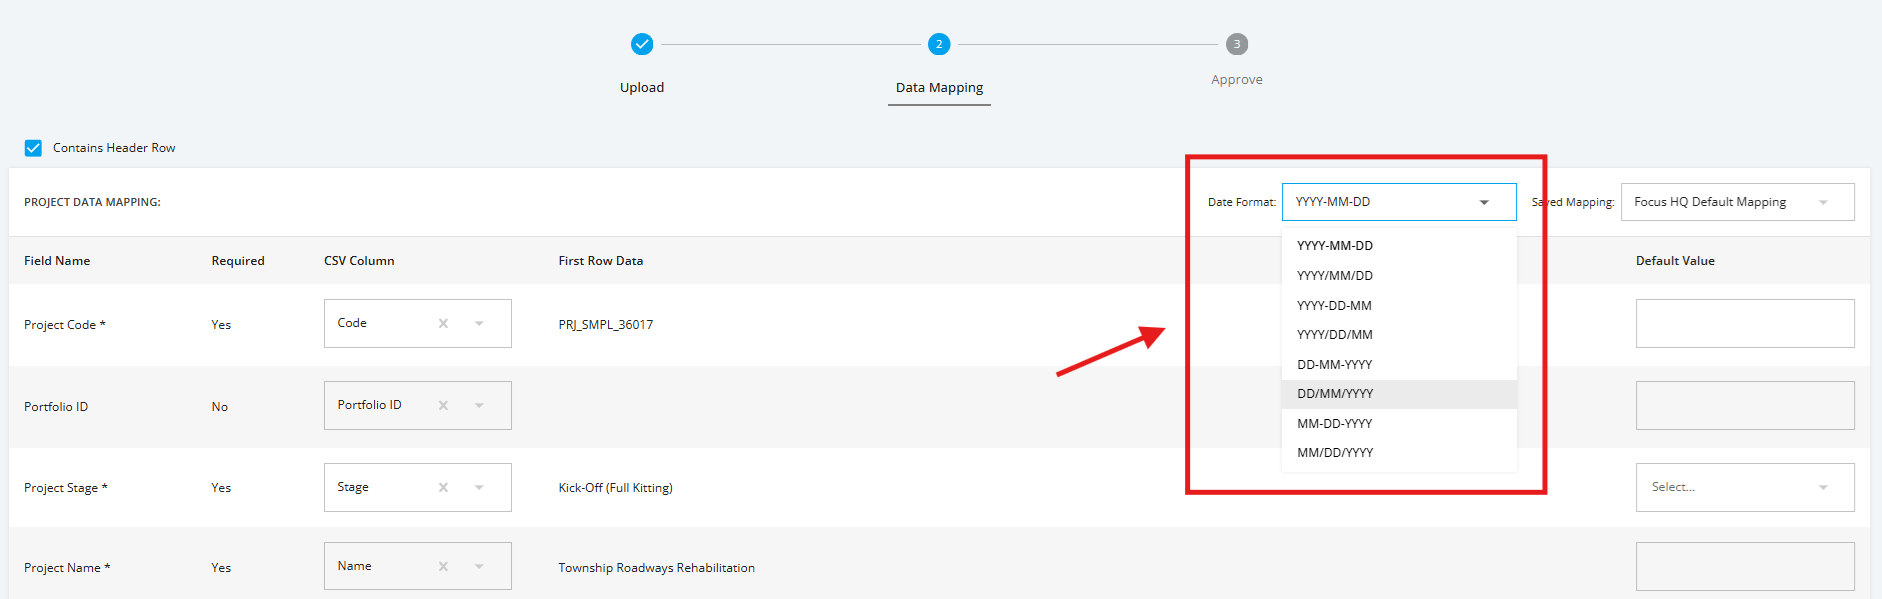
For the Dates of the Project Stage Gates, these are the Date Format options and the accepted date formats:
- YYYY-MM-DD (Example: 2026-06-05)
- YYYY/MM/DD (Example: 2026/06/05)
- YYYY-DD-MM (Example: 2026-05-06)
- YYYY/DD/MM (Example: 2026/05/06)
- DD-MM-YYYY (Example: 05-06-2026)
- DD/MM/YYYY (Example: 05/06/2026)
- MM-DD-YYYY (Example: 06-05-2026)
- MM/DD/YYYY (Example: 06/05/2026)
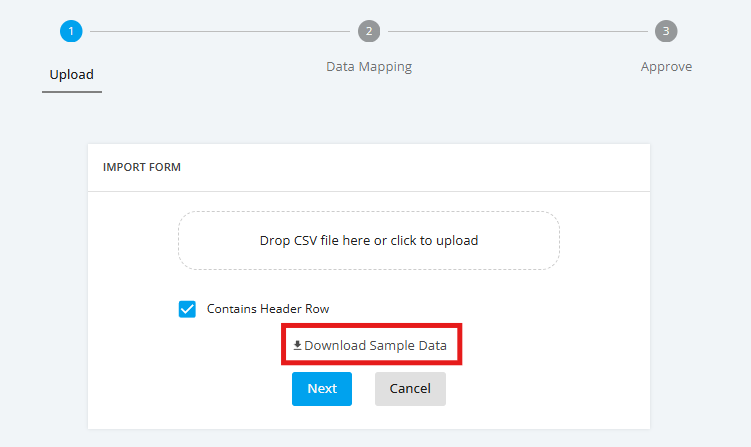
User can export a sample template from the CSV Import Details field by clicking ‘Download Sample Data’. A sample CSV file will be provided with all headings and sample data.
Once information has been populated, upload the CSV file and click Next.
3. Once the CSV Import Mapping page is displayed, map the 'Focus HQ Field Names' to the 'CSV Field names'.
Select the Saved Mapping template in the top right-hand corner, (Default= 'Focus HQ Module Mapping').
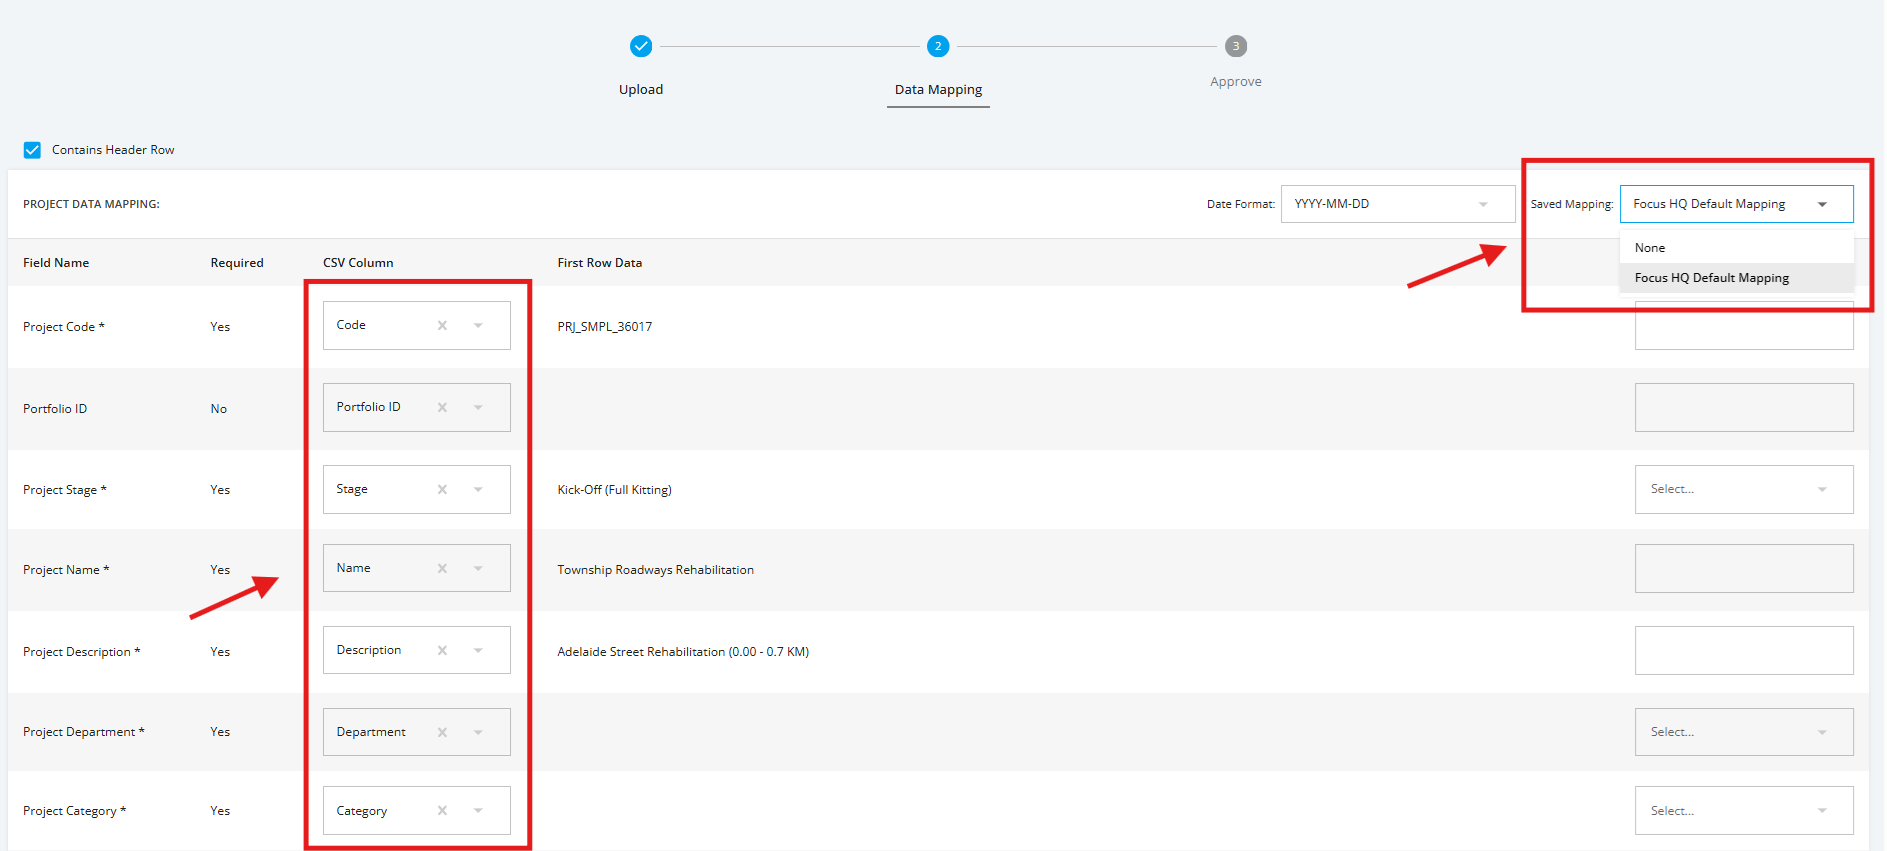
Important Note:
- A User can create an own custom template to map Focus HQ Field Names to the CSV Field names. Click the ‘Create New Mapping’ button.
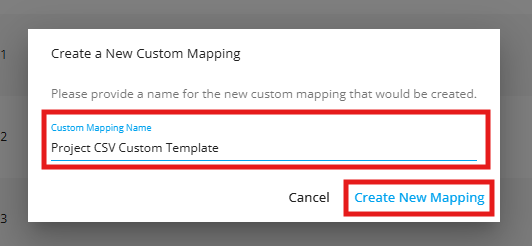
- Enter name of the template once popup is displayed, then click 'Create New Mapping'. Once successfully created, the template will be available from a drop-down list:

4. Select the 'Date Format' used in your CSV.
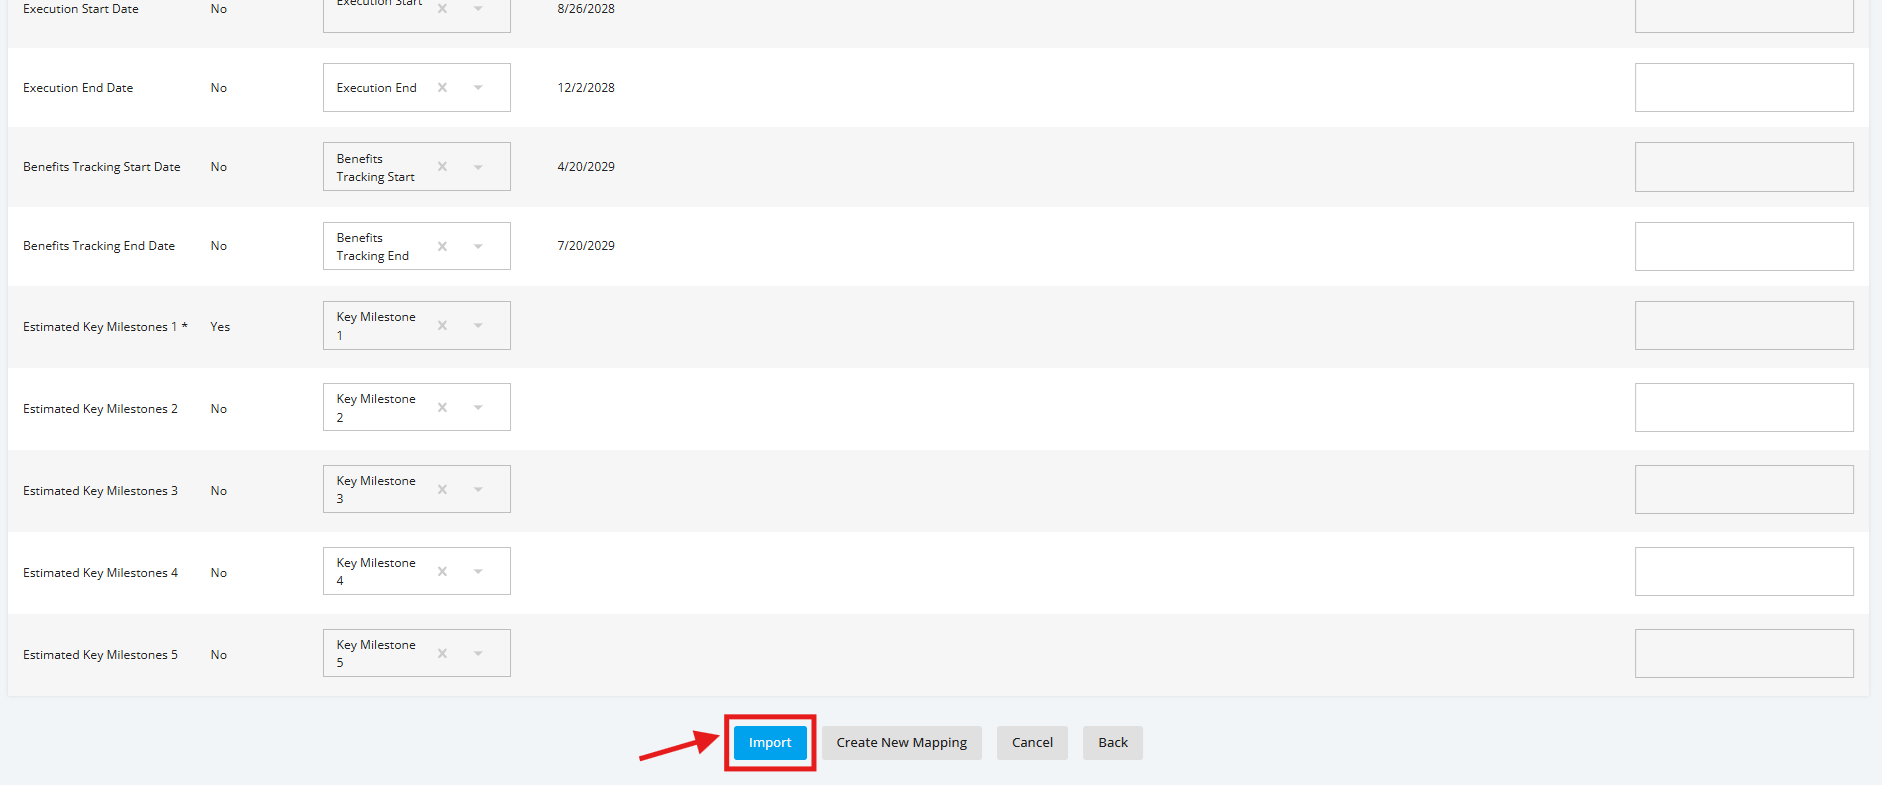
5. Once all fields are mapped, click the 'Import' button.
6. The next step is a system validation on the data. Error messages might appear, explaining details of the Project row whose data has the error. See example below:
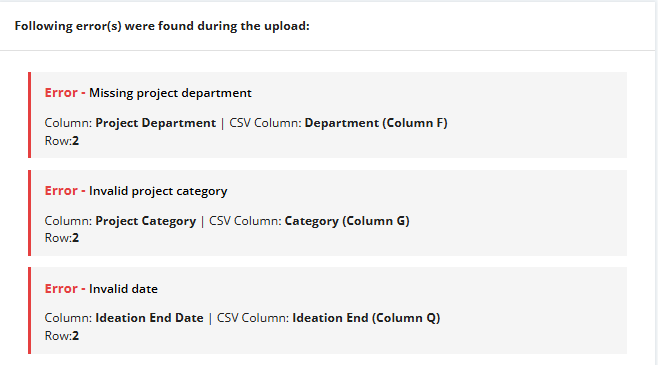
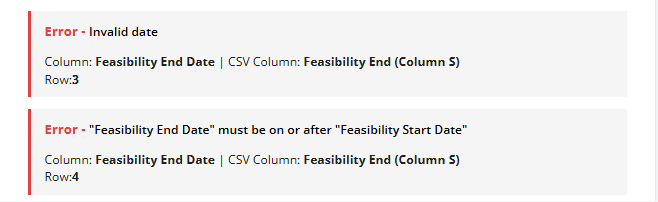
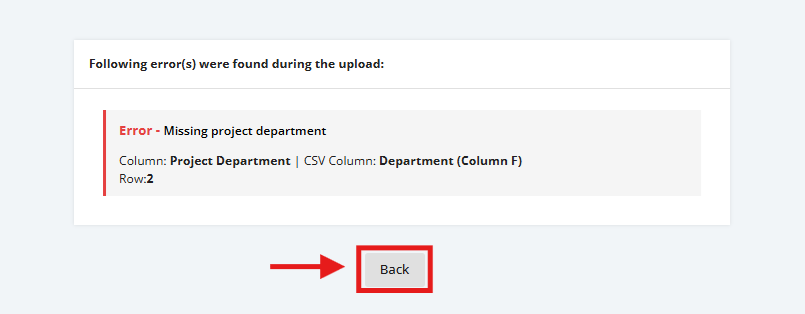
Since these error messages unable the Import to continue, click the 'Back' button. Update CSV source file and recommence import from the beginning.
TIP:
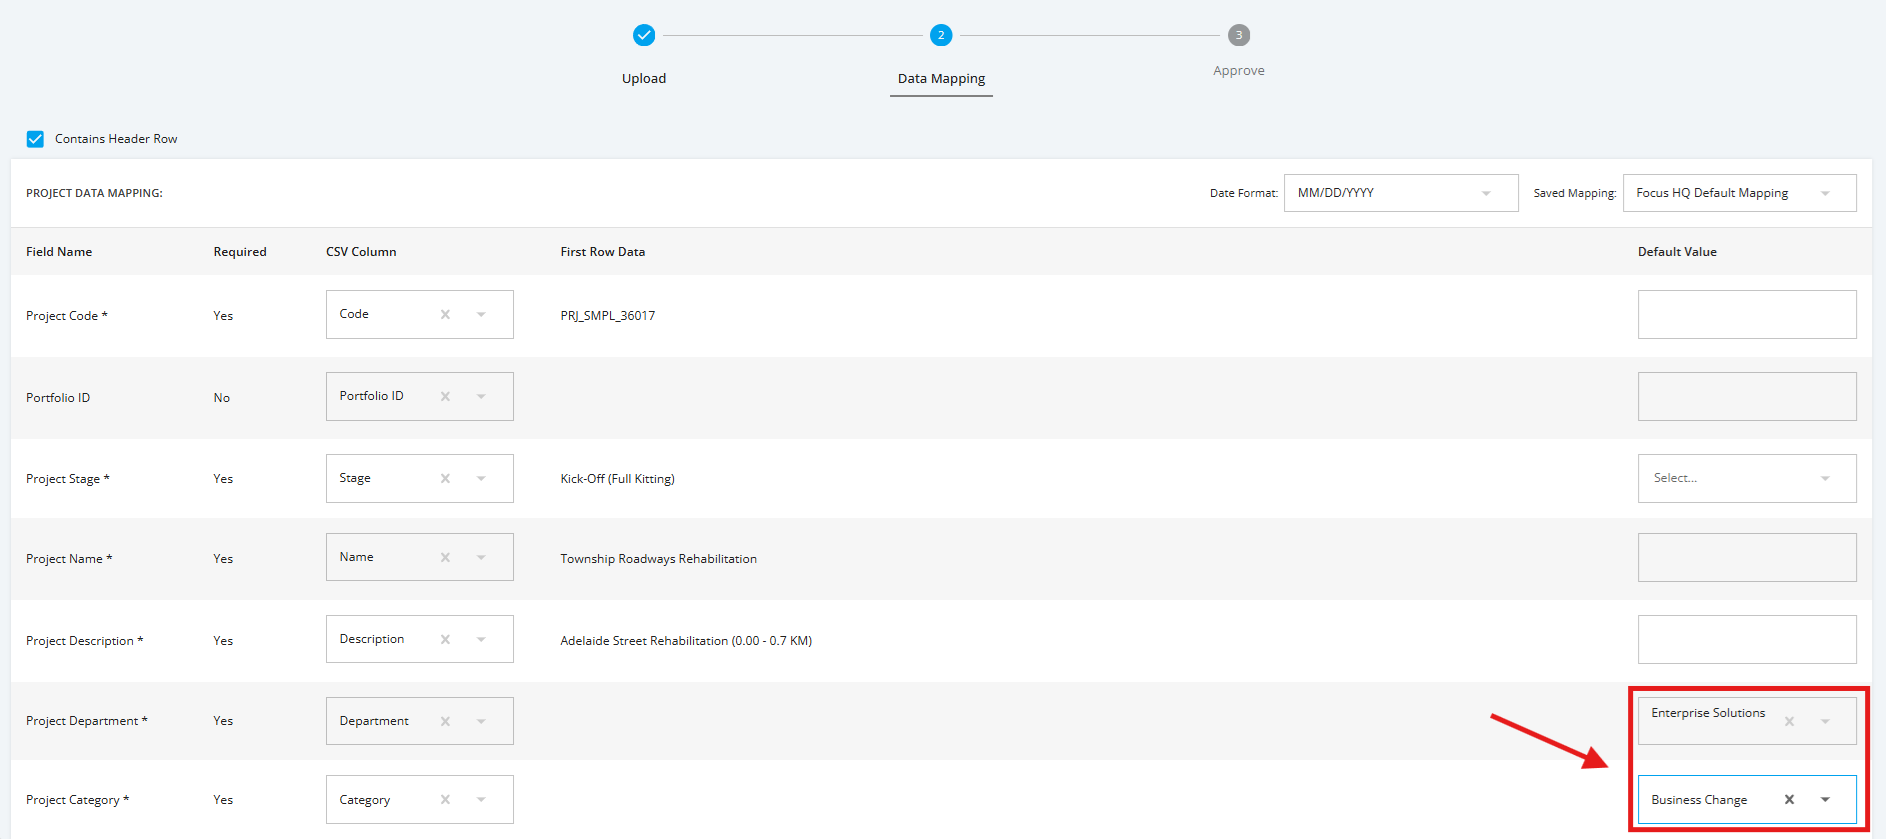
The user has the option to enter Default Values which will be applied to all Projects missing required data. Once done, select Import to move to the next screen.
Alternatively update the source CSV file and recommence the import.
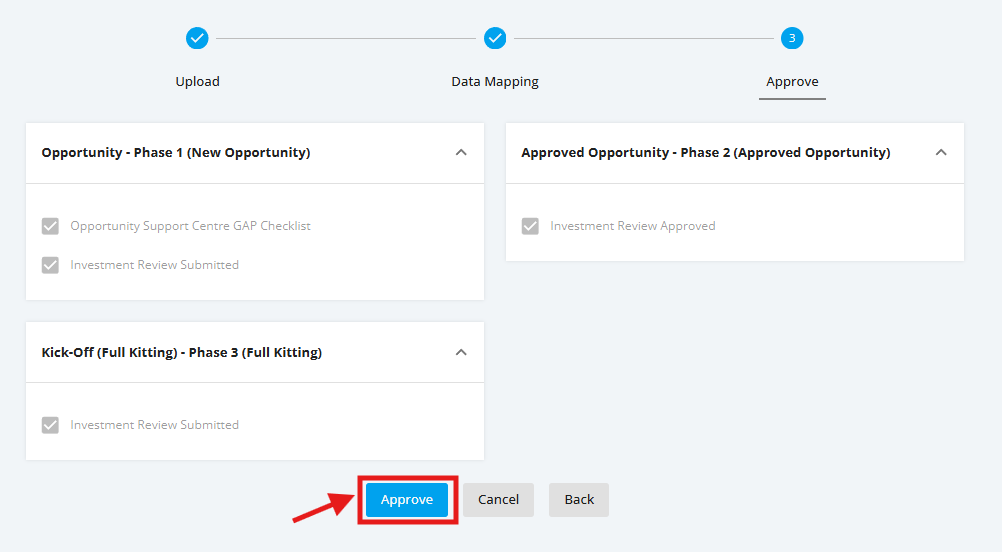
7. Once the System validation is completed or there are no errors, user is redirected to a page where it shows the Project Stage checklists that are automatically ticked so that the projects in the CSV can be successfully created.
Click the 'Approve' button.
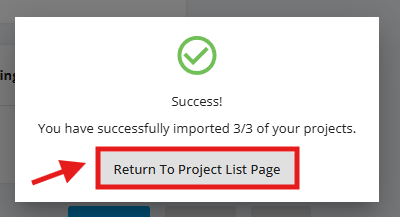
8. The system will prompt a successful pop up that the CSV is successfully imported.
Click the 'Return To Project List Page' button to confirm the imported projects in the Project List.