1. Video
You can check the video for a walkthrough of how to upload Action Items/ Meetings in the project.
2. Process in Uploading Actions, Decision, Dependencies, Assumptions, and Meetings
The Upload Actions functionality only works for New action, decision, dependency, assumption, and meeting items.
1. In the Action Tracking page, click the Upload Actions button on the upper right corner.

2. Once redirected to the Upload Actions page, upload the CSV file containing the Actions. Then, click the Import button.
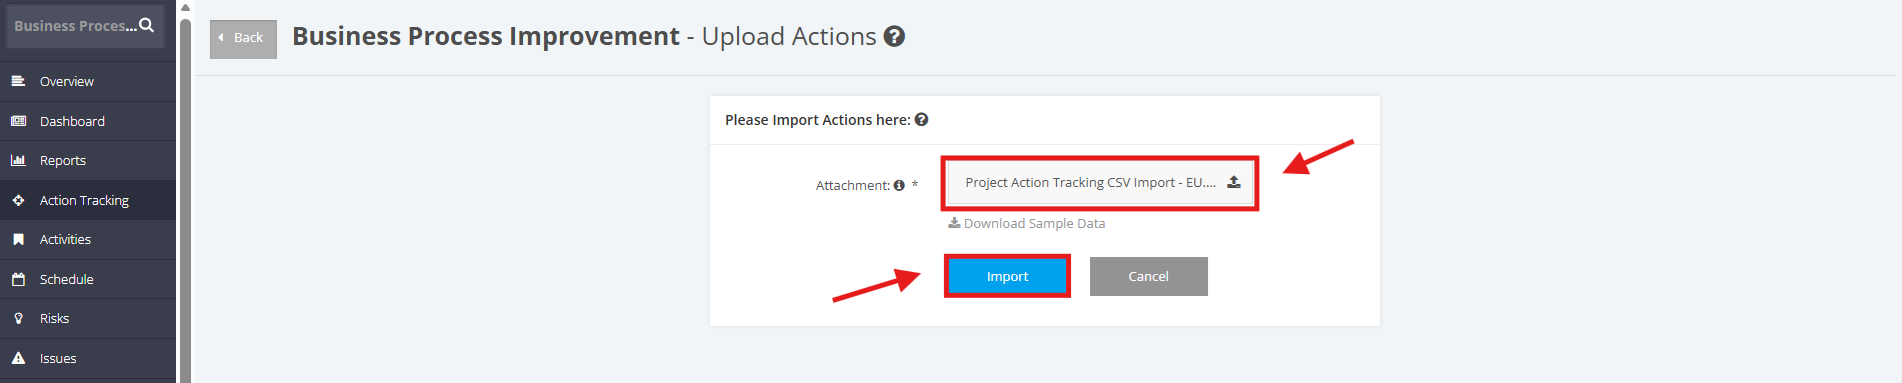
You can click Download Sample Data to download an Actions CSV Import template to be guided with the necessary data needed to be filled in.

These are the required columns for the Actions CSV file and their accepted values:
| Module | Risks, Issues, Deliverables, Change Control, Resourcing, Quality Management, Others |
| Item | ID of Item based on selected module If Module selected is Others, text should be up to 500 characters. |
| Type | Action, Decision, Dependency, Assumption, Meeting |
| Work Stream | List of workstreams configured in the project |
| Description | Up to 10000 characters |
| Assigned To | List of users added in the project |
| Participants | List of users added in the project |
| Due Date | DD/MM/YYYY Accepted dates are those within current week onwards but before the Project End Date/ Forecast End Date. |
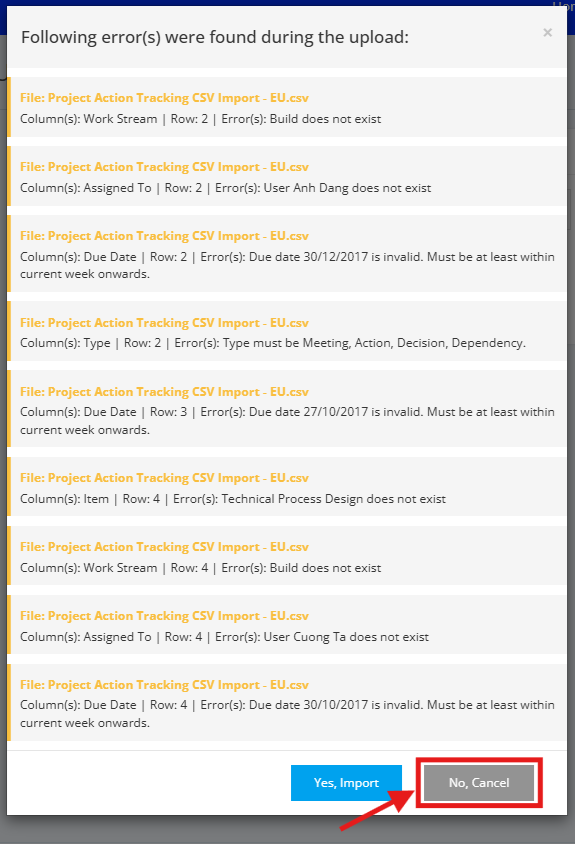
3. If system displays yellow validations, these are warnings that are needed to be corrected so that the import can go through.
Click ‘No, Cancel’, then update the rows in the CSV file containing such messages. Once done, recommence import.
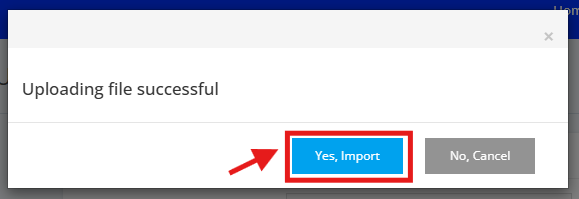
4. Once CSV file is reuploaded and system does not see any error messages, a pop-up confirmation message is displayed that file upload is successful. Click 'Yes, Import' .
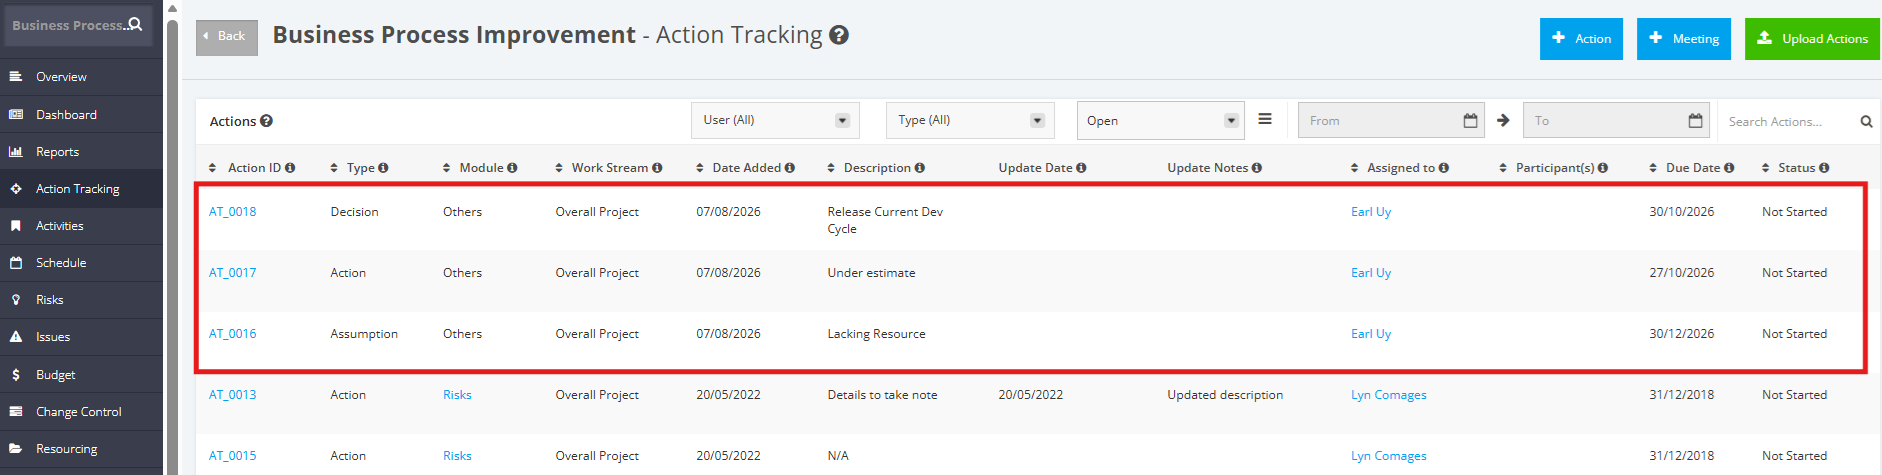
5. Once redirected to the Actions page, the Action Items will be displayed in the Actions List, noting successful import.